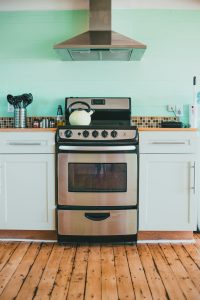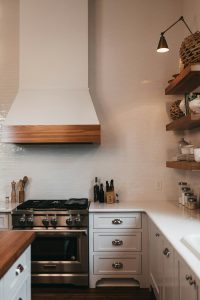
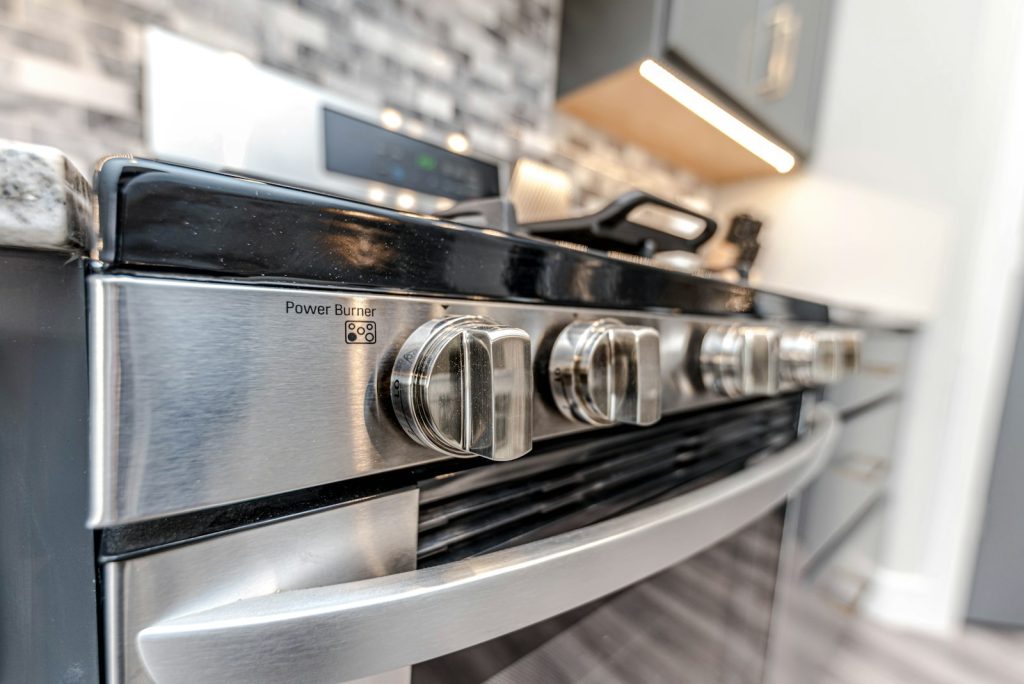
A correct ge range installation matters more than most kitchen appliance setups, since ranges involve either a gas connection or a high-voltage electrical circuit, and a mistake in either area is a genuine safety concern rather than just an inconvenience. The checklist below covers general, non-model-specific installation points that apply broadly across gas and electric GE ranges; always follow the specific installation instructions included with your exact model as the final word.
The anti-tip bracket
Every free-standing range ships with an anti-tip bracket that anchors the rear of the range to the floor or wall, and it is not optional. Without it, a range can tip forward if enough weight is placed on an open oven door, which has caused serious injuries in homes where the bracket was skipped or removed.
- Install the bracket according to the included instructions before sliding the range into its final position
- Confirm the range engages the bracket by gently trying to tip it forward with the oven door open; it should stop well short of tipping
- Re-engage the bracket any time the range is pulled out for cleaning behind it
Clearance requirements
Ranges need clearance above the cooktop to any cabinetry or a range hood, and clearance to the sides for combustible materials, following the dimensions specified in the installation instructions for your exact model. Insufficient clearance is both a fire risk and can interfere with a range hood’s ability to properly capture smoke and grease.
Gas range hookup
- Connect a new flexible gas connector rated for range use, never reusing an old connector
- Install a gas shutoff valve within reach behind or beside the range if one is not already present
- Check every connection with a soapy-water leak test after connecting, watching for bubbles that indicate a leak
- Secure the range with its anti-tip bracket once the gas connection is confirmed leak-free
Electric range hookup
Electric ranges require a dedicated 240-volt circuit and outlet rated for the range’s power draw, separate from standard household outlets. This connection should be handled by a licensed electrician if the existing outlet, wiring, or breaker is not already correctly rated for the specific range being installed.
Leveling the range
Adjust the leveling legs at the base of the range until it sits flat, which keeps liquids from pooling to one side of the cooktop and helps oven baking results come out even.
Ventilation considerations
If a range hood or downdraft vent is part of the same project, confirm it is rated for the type of range being installed, since gas cooking generally calls for more exhaust capacity than electric. Getting ventilation right during a ge range installation avoids a callback later for smoke or odor complaints that have nothing to do with the range itself.
Slide-in and freestanding differences
Slide-in ranges are designed to fit flush between surrounding cabinetry with a finished edge on the countertop rather than a full side panel on the range itself, which means the cabinet opening dimensions need to match the specific model closely. Freestanding ranges are more forgiving of minor width differences since their side panels are finished, but both styles still require the same anti-tip bracket and clearance attention described above.
When to call a professional
If your ge range installation involves running a new gas line, adding a 240-volt circuit, or you are not confident handling the anti-tip bracket and leak-testing steps yourself, this is not a place to guess. Our range repair technicians handle new installations as well as repairs, and it is worth reviewing GE range maintenance once the range is running.
Quick summary
Getting the anti-tip bracket, clearance, and the correct gas or electrical hookup right at the start of a ge range installation is a genuine safety matter, not just a convenience, and each of these steps is worth double-checking even if someone else did the installation work.
Our experienced, independent technicians can install or correct the installation of your GE range safely. Schedule installation help at /schedule/. For general product specs, see geappliances.com.