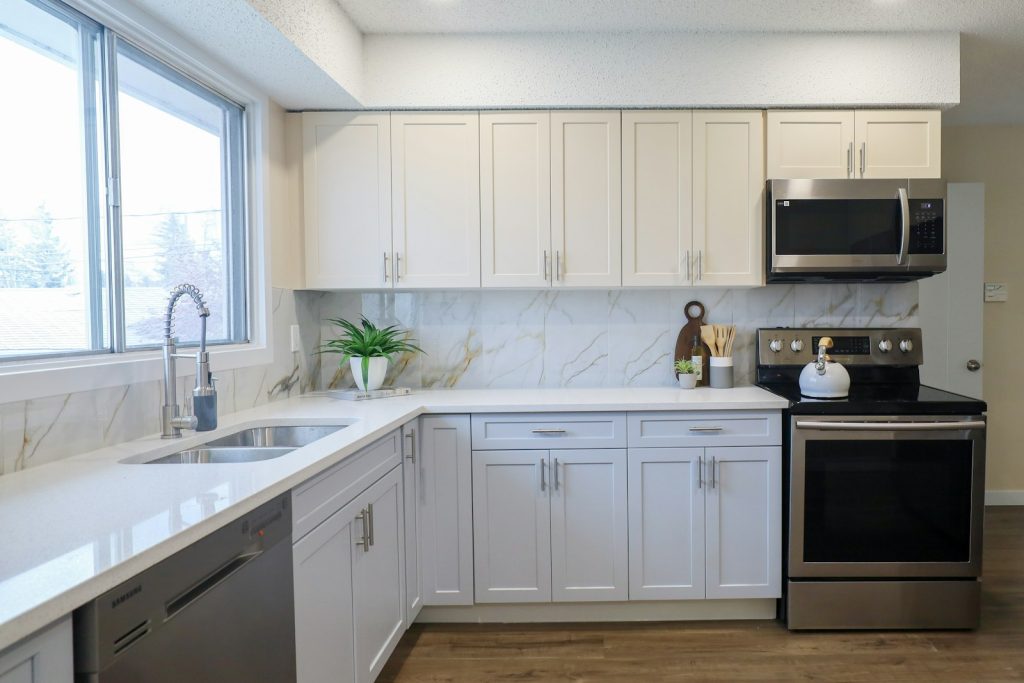
A ge otr microwave installation replaces a range hood with a combination microwave and venting unit mounted above the cooktop, and while GE provides a paper or cardboard template with every unit to guide cabinet drilling, several steps are easy to get wrong on a first installation, particularly around weight support and venting.
Before you start
- Confirm the cabinet above the range can structurally support the microwave’s weight, which is considerably heavier than a typical range hood
- Confirm a dedicated electrical circuit is available and properly rated for the microwave – most OTR microwaves require their own circuit rather than sharing one with other kitchen outlets
- Decide whether you will vent to the outside (ducted) or recirculate filtered air back into the kitchen (ductless), since this affects which filter kit you need
Step-by-step installation overview
- Use the included template to mark drilling locations precisely on the underside of the cabinet above the range – accuracy here matters, since the mounting plate must align with both the wall bracket and the cabinet screws
- Install the included wall mounting bracket at the marked height, anchored into wall studs wherever possible rather than drywall alone, since this bracket carries a significant share of the unit’s weight
- If venting to the outside, cut the ducting opening in the cabinet or wall per the template and connect ducting before lifting the unit into place
- With a helper, lift the microwave onto the wall bracket, hooking the rear mounting slots securely onto the bracket
- Secure the unit to the cabinet above using the provided screws through the pre-drilled holes
- Connect the electrical cord to the dedicated outlet, or have an electrician complete a hardwired connection if required by your specific model
- Test the vent fan, light, and control panel before considering the installation complete
Common installation mistakes
- Mounting to drywall alone without hitting at least one wall stud for the bracket
- Skipping the ducting connection entirely on a model intended to be vented, relying only on the recirculating filter instead
- Misaligning the template, which can leave the unit tilted or gapped from the cabinet above
Clearance and height requirements
GE specifies a minimum clearance between the cooktop surface and the bottom of the microwave, generally in the range of 24 to 30 inches for most models, though always follow the exact spec in your unit’s installation instructions rather than an approximate figure, since clearance affects both usability and fire safety over a gas or electric cooktop.
Weight and Support Considerations for a GE OTR Microwave Installation
An OTR microwave typically weighs considerably more than the range hood it replaces, and a genuine ge otr microwave installation depends entirely on the wall bracket transferring that weight into solid framing rather than the cabinet screws alone. If the cabinet above your range is older or was not originally built to support an OTR unit, have a contractor confirm the mounting surface can bear the load before drilling – a bracket anchored only into the cabinet’s particleboard bottom can eventually pull loose under sustained weight and vibration from the door opening and closing.
Checking the vent damper after installation
Ducted OTR microwaves include a backdraft damper that should swing freely and close when the fan is off, preventing outside air and pests from entering through the duct run. After completing a ge otr microwave installation, run the fan briefly and confirm air is actually moving through the exterior vent cap, since a damper stuck shut from installation debris or a kinked duct will make the fan run without providing real ventilation, even though it sounds normal from inside the kitchen.
When to call a professional
Given the weight involved and the need for a properly rated electrical circuit, many homeowners have this installation done professionally rather than attempting it solo. Our microwave repair team handles new installations as well as repairs, and can also advise on venting options for your specific kitchen layout.
Quick summary
Getting the wall bracket properly anchored to a stud and the venting connected correctly are the two steps most likely to go wrong on a GE OTR microwave installation, and both are worth double-checking before considering the job finished.
Our experienced, independent technicians – not affiliated with GE Appliances, a Haier company, or General Electric Company – install OTR microwaves correctly the first time. Schedule installation help at /schedule/. General GE product information is at geappliances.com.