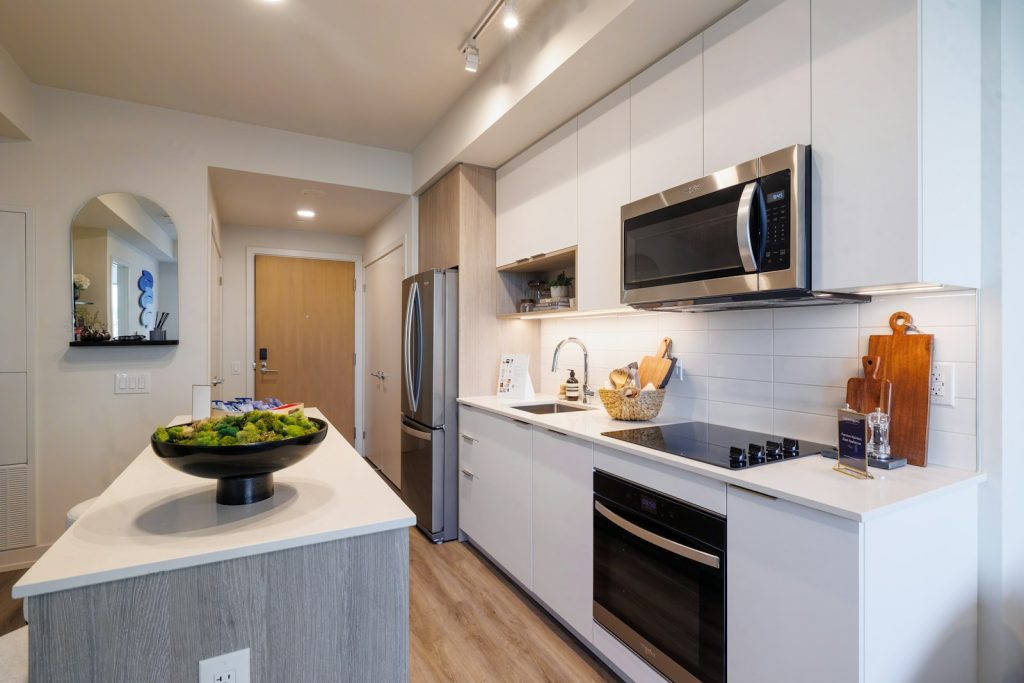
Planning a ge microwave installation over your range is not a project to rush — an over-the-range (OTR) microwave is heavier than it looks, sits directly above an open flame or hot burners, and needs its own dedicated electrical circuit in most homes. This guide walks through the general steps that apply across GE, GE Profile, and Café OTR models without referencing any single model number.
Mounting Bracket and Wall Template
Every OTR microwave ships with a paper template and a metal wall bracket. The template gets taped to the cabinet above the range to mark stud locations, the bracket hangs on the wall studs (never drywall anchors alone — the unit is too heavy), and the microwave itself hooks onto the bracket before being secured to the upper cabinet from inside. Getting the bracket level is the single most important step in any ge microwave installation, because a tilted bracket puts uneven strain on the cabinet screws over time.
Cabinet Clearance Requirements
GE specifies a minimum clearance between the cooking surface and the bottom of the microwave, along with clearance to nearby cabinets and walls. These figures vary by model and are printed in the installation instructions included with the unit — always follow the sheet that comes in the box rather than a generic number, since clearance affects both safe operation and the effectiveness of the built-in exhaust fan.
Venting: Recirculating vs. External
OTR microwaves vent one of two ways. A recirculating (ductless) setup pulls air through a charcoal filter and blows it back into the kitchen — simple to install, but weaker at clearing smoke and steam. An external vent routes air through ductwork to the outside, either up through the cabinet and roof or out the back wall, and performs significantly better for anyone who cooks often. Deciding between the two before purchase avoids having to retrofit ductwork later.
Electrical Requirements
Most OTR microwaves need a dedicated 120-volt, grounded circuit, and many installations place the outlet inside the cabinet above the unit specifically so the cord is hidden. Never use an extension cord or a shared circuit with the range — the combined draw can trip breakers repeatedly or, worse, overheat wiring. If your kitchen does not already have a dedicated outlet in the right place, that is an electrical job, not a microwave job.
Lifting and Two-Person Safety
Because of the weight involved, OTR installation is safer with two people — one to support the unit while it engages the bracket, one to secure it. If the old unit is being removed at the same time, check for pre-existing cabinet damage or stripped screw holes before hanging the replacement.
Removing the Old Unit Safely
If this installation is replacing an existing OTR microwave, disconnect power at the breaker before doing anything else, and have a second person supporting the unit’s weight as the last mounting screws come out — the moment the final screw releases, the entire microwave is only resting on the wall bracket, and it can shift unexpectedly. Inspect the old bracket’s screw holes in the cabinet for stripping or damage before hanging the new unit on the same location, since a new bracket screwed into a worn-out hole will not hold securely regardless of how well the rest of the install goes.
When to Call a Technician Instead
If your kitchen needs new ductwork, a new electrical circuit, or the old bracket does not match the replacement model, a self-install can turn into a much bigger project. Our experienced technicians handle full ge microwave installation jobs, including venting changes, and can advise on /appliances/microwaves/ options that fit your existing cabinet opening. Schedule at /services/microwave-repair/.
Summary
A correct ge microwave installation comes down to a level bracket, proper clearance, the right venting choice, and a dedicated circuit. Skipping any of these steps risks the unit itself or, worse, a kitchen fire hazard. For hands-on help, book through /schedule/, and see geappliances.com for model-specific installation sheets.