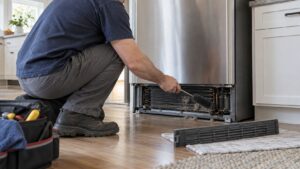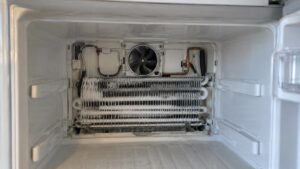
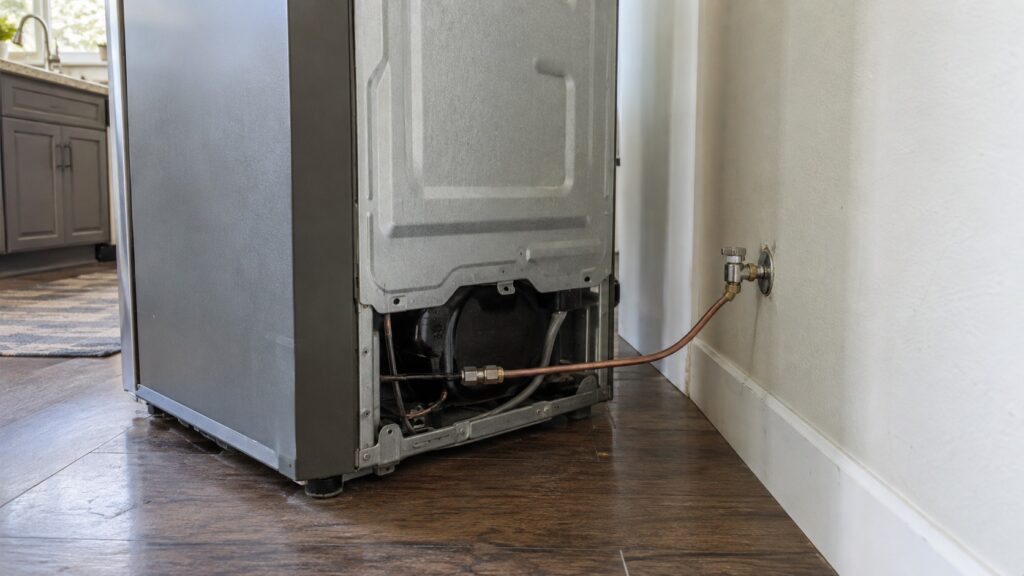
A GE refrigerator water line hookup brings household water to the ice maker and the dispenser through one dedicated line. Our installation guide says the line should be a dedicated 1/4-inch copper or braided line from its own shutoff valve, not a saddle valve tapped into a supply pipe. Connect it the way your owner’s manual shows, keep it free of kinks, turn the water on slowly, check every joint for drips and flush the line before you rely on the ice or water. Adding a new supply pipe or valve is a plumber’s job.
What does a GE refrigerator water line need?
Our refrigerator installation requirements guide says any model with an ice maker or a dispenser needs its own 1/4-inch line running to a shutoff valve, and that a saddle valve pierced into an existing pipe restricts flow and is the single most common cause of slow ice production and dispenser trouble on a new unit. A good installation takes water from the cold supply, runs a dedicated shutoff at an accessible point and gives the refrigerator a clean, short run. If your home has no suitable valve, the supply work is for a plumber, and we do not describe it here.
How do you prepare before you connect it?
Pull the refrigerator out only far enough to reach the back, and have a second person help. Check the line for kinks, flat spots or damage, and check the fittings for cracks. Look at the shutoff valve and make sure it turns freely and does not already drip. Do not use a line that is old and brittle. If your refrigerator came with a kit, follow the manual for which parts to use, since fittings differ by model. Leave a little extra length of line so the refrigerator can be moved for cleaning, but do not leave a tight loop that kinks when the unit is pushed back.
How do you connect the line safely?
Keep the water off while you connect. Attach the line to the refrigerator’s inlet as the owner’s manual shows for your model, and tighten by hand until it is snug. A fitting that is overtightened can crack or strip and will leak. Do not use thread tape or sealant unless the manual says to. Make sure the line does not touch anything hot or sharp at the back of the refrigerator and does not run under a foot or a roller. Connecting to the household valve should be done only if a proper valve is already there. If you need new plumbing, stop and call a plumber.
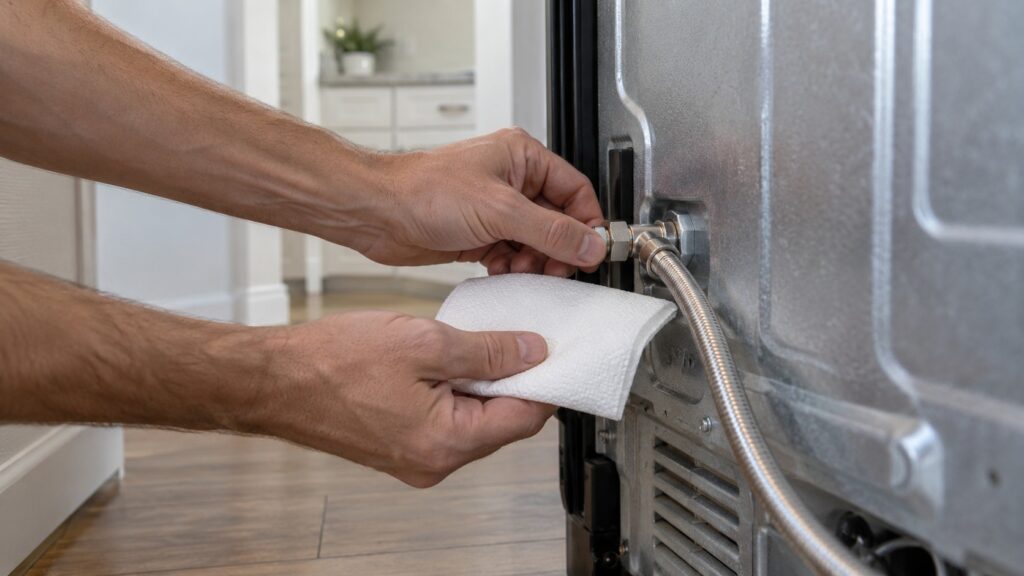
How do you turn the water on and check for leaks?
Open the shutoff valve slowly, and keep your hand on it. Watch each joint, at the valve and at the refrigerator, for beads of water. Wipe each one with a dry paper towel and see whether the towel gets wet. If a joint drips, close the valve, dry it and tighten a little, or take it apart and look at the seal. If water ever reaches an outlet or the cord, switch off the breaker at the panel while standing on a dry floor, and never pull a plug from a wet outlet. Check the joints again after the refrigerator has made some ice or dispensed water, because a slow leak can take a while to show.
What should you do about the filter and the first water?
A new refrigerator or a new line needs flushing, and the owner’s manual explains how much water to run through the dispenser and how to install the filter. We do not state an amount, because it differs by model. Fill and discard as the manual describes, and expect air in the line at first, which can make the dispenser sputter. Ice from the first batches should be discarded as the manual advises. Our water filter replacement guide explains the filter, and our ice maker installation guide covers the ice maker itself.
How do you protect the line over time?
Rubber and plastic lines age, and a line that is crushed behind the refrigerator or bent sharply can split without warning. Whenever you move the refrigerator for cleaning, look at the line, the joints and the floor behind it. Slide the refrigerator back slowly and watch that the line curves gently and is not pinched. Know where the shutoff valve is and make sure every adult in the home can close it. If you will be away for a long time, closing the valve is a cheap precaution. A damp floor, a musty smell behind the unit or a drip at a joint should be dealt with at once, because water damage to a floor is far costlier than a new line.
What problems show up after a hookup?
Slow ice, a weak dispenser and a refrigerator that makes noise while it fills point first to the supply: a partly closed valve, a kinked line or a saddle valve. A leak at the back points to a joint. Our ice maker not making ice guide goes through the causes, and our module and water valve guide explains the parts inside. Do not open the back panel of the refrigerator to look for the valve. Our GE refrigerator repair page explains how a visit works.