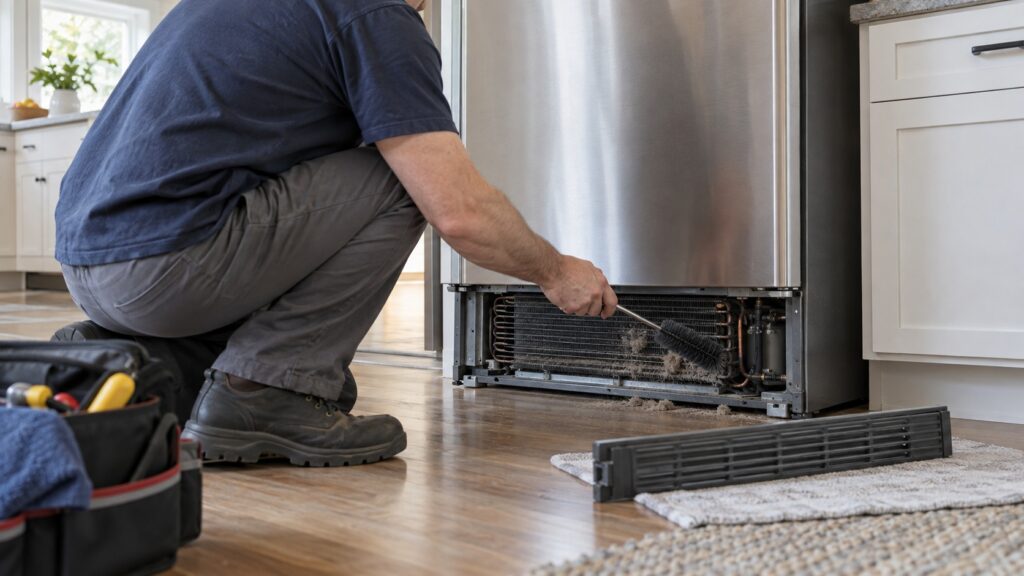
Cleaning the GE refrigerator condenser coils means unplugging the refrigerator, reaching the coils behind the bottom grille or on the back panel, and removing dust and pet hair with a coil brush and a vacuum, about twice a year. Dirty coils cannot shed heat, so the compressor runs longer, the cabinet warms, the energy bill rises and the noise grows. It is one of the cheapest maintenance jobs for any GE refrigerator, whether a top-freezer like the GTS18GSNRSS, a side-by-side like the GSS25GYPFS or a French-door like the CFE28TSHSS.
What do condenser coils do in a GE refrigerator?
A refrigerator moves heat out of the cabinet and into the room. The compressor pumps refrigerant to the condenser coils, where the heat is released, and a fan helps by blowing air across them. If dust blankets the coils, the heat cannot escape. The compressor then works longer to reach the same temperature, which wears it faster and raises the electric bill. A fan clogged with lint or hair makes the problem worse. Coil cleaning is basic upkeep, and the full routine appears in our GE refrigerator maintenance checklist.
How do I know the coils are dirty?
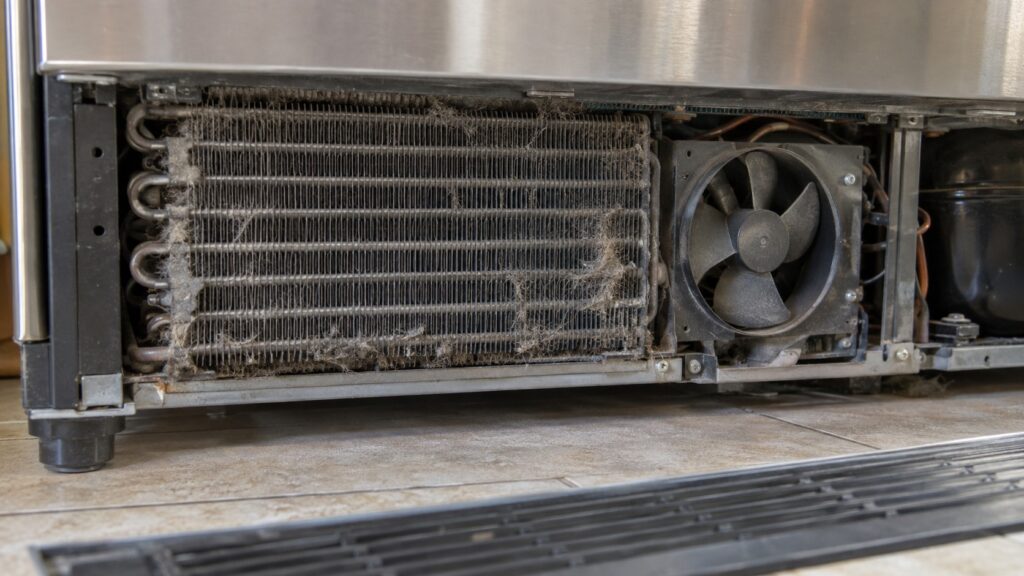
The signs build slowly. The refrigerator runs almost constantly, the area around the bottom grille feels warmer than usual, and the cabinet temperature drifts up in summer. A louder compressor or fan is another sign. On our GE refrigerator noise page, a failing condenser fan motor and debris against the fan blade are both listed among the causes of buzzing and rattling, and dust on the coils is the cause that is easiest to rule out. A flashlight shows the answer quickly: a gray mat on the coils means they need cleaning.
How do I clean them step by step?
Unplug the refrigerator first, so the fan cannot start while your hand is near it. Then work in this order.
- Reach the coils. On a bottom-grille model, pull the grille off at the bottom front; it usually snaps off or has two screws. On a rear-coil model, pull the refrigerator out carefully, avoiding the water line.
- Loosen the dust. Use a long, narrow coil brush to sweep the coils and the tray beneath. Move gently and keep the fins straight.
- Vacuum. Use the brush attachment on the coils, around the fan and across the floor beneath.
- Check the fan. Make sure the fan blade turns freely by hand and nothing is wrapped around it.
- Replace the grille and plug in. Push the refrigerator back without kinking the water line.
Do not use a pressure washer, compressed air at close range or a sharp tool. The fins bend easily, and a bent fin restricts airflow. Do not spray any liquid near the electrical parts.
Does the location of the coils change the job?
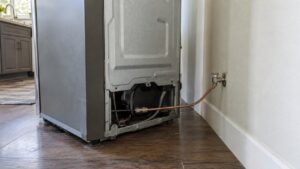
It changes the access, not the method. On many modern refrigerators the coils and fan sit in a compartment at the bottom, reached by removing the front grille, and the job takes ten minutes without moving the refrigerator. On others, the coils sit on the back panel, and you need to pull the refrigerator forward and roll it carefully. Some older top-freezer models use coils on the back that are exposed to the room, and they collect dust fast. Your owner’s manual shows the layout for your model, and the label inside the cabinet gives the model number to look it up. Wherever the coils are, the same rules apply: unplug first, brush gently, vacuum, and leave the fins straight.
Why does the condenser fan matter?
The fan pulls room air across the coils and pushes warm air out. It is also the part most likely to make noise, because lint and hair wrap around its blade and its bearings wear. A fan that is stiff or noisy makes the coils work harder even when they are clean. While the grille is off, spin the blade by hand: it should turn freely with no scraping. Remove any hair or fluff you find. A fan that will not spin, or that buzzes, is a failing motor, and that needs a technician. Never run the refrigerator with the grille off for long, since the airflow path is designed to work with it in place.
How often should I clean them?
Twice a year suits most homes, and four times a year suits homes with long-haired pets, a dusty basement or a kitchen near an open window. Mark the calendar when you change the clocks. If your refrigerator sits in a tight cutout with little air around it, dust and heat build faster. Check that there is the clearance on the sides, top and back that the installation manual lists, which is covered in our GE refrigerator installation requirements.
What if cleaning does not help?
If the refrigerator is still warm or noisy after the coils are clean, the cause lies elsewhere. A warm fresh-food compartment with a cold freezer often points to airflow inside, covered in our guide to a GE refrigerator that is warm while the freezer is cold. A loud refrigerator may have a failing fan; see why a GE refrigerator makes noise. A compressor that hums and clicks without starting may point to the start relay, covered in the start relay guide. And if it is simply not cooling, start here.
When the checks run out, GE refrigerator repair can test the fans, the sealed system and the controls, and you can book a visit online.